Endless Dancers
Project Description
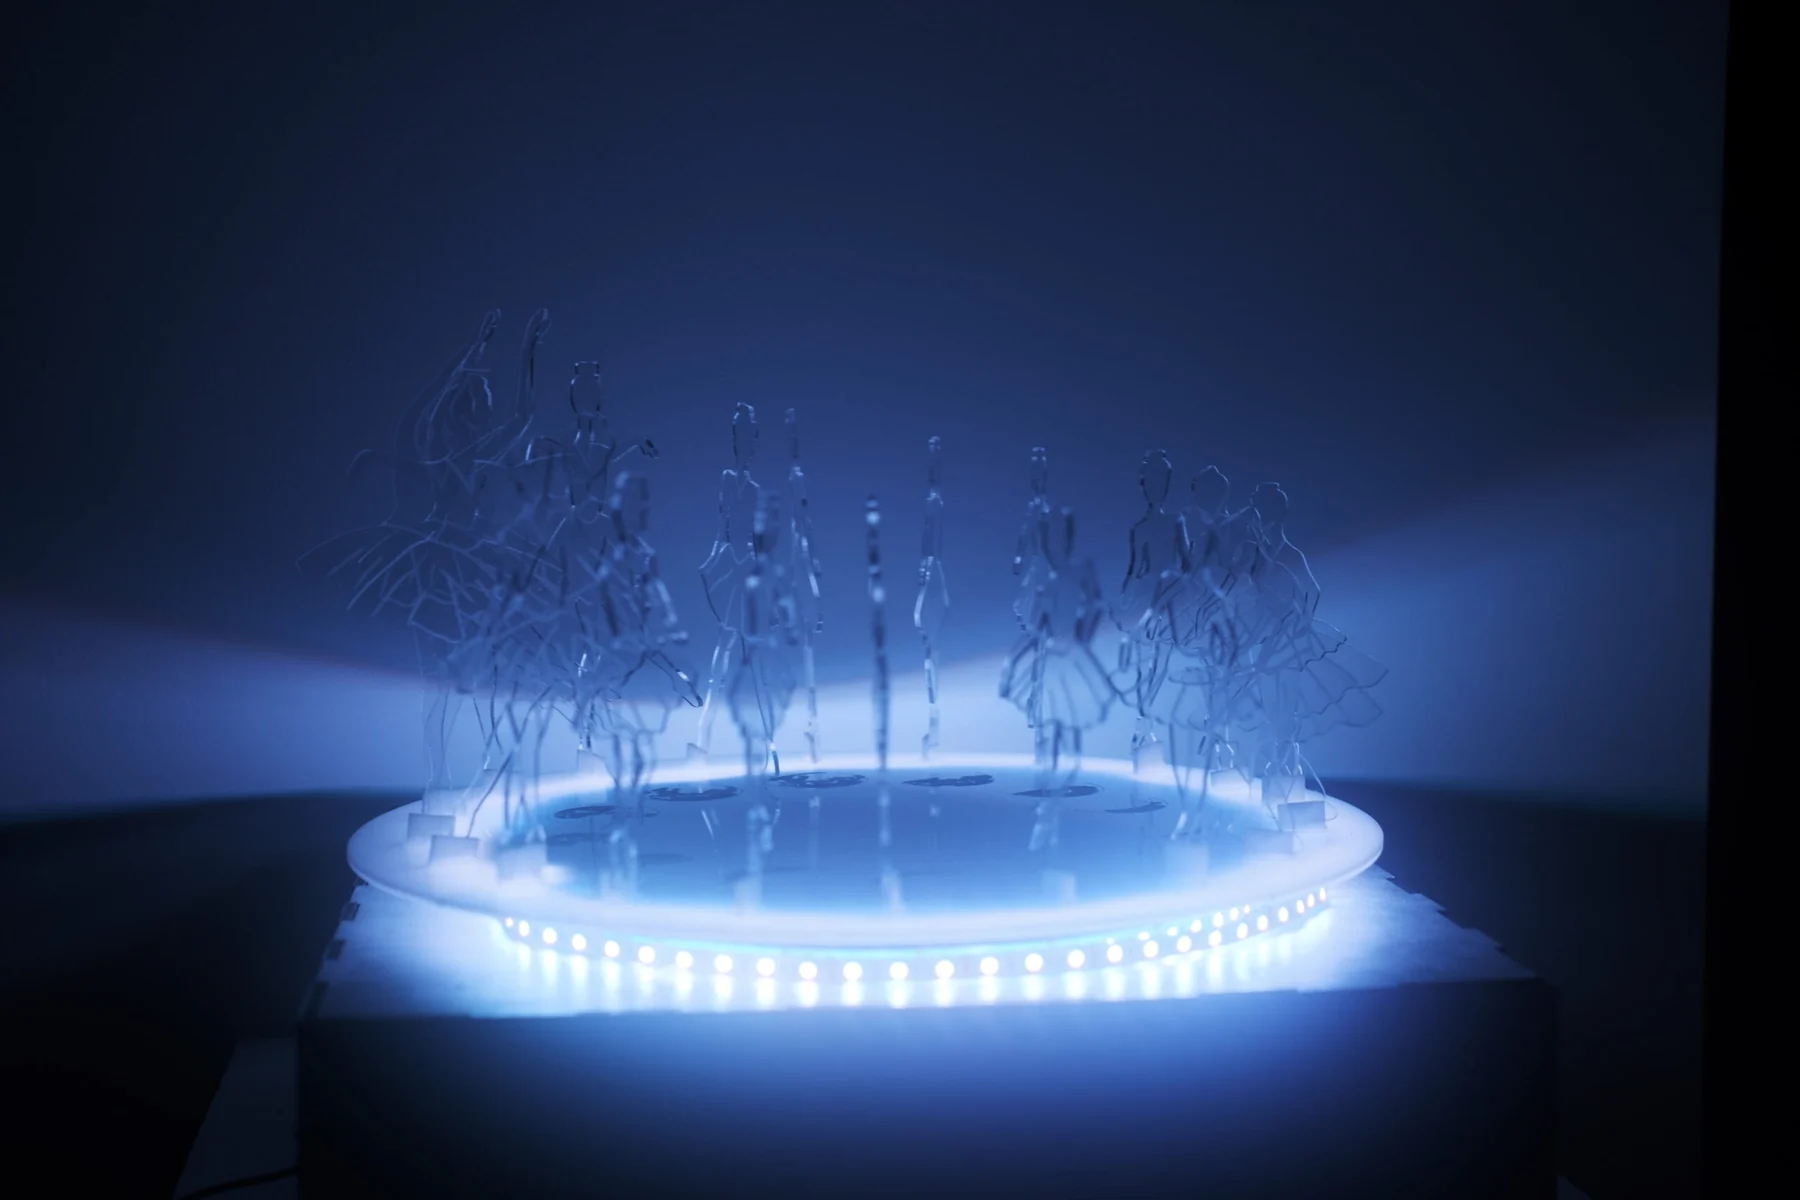
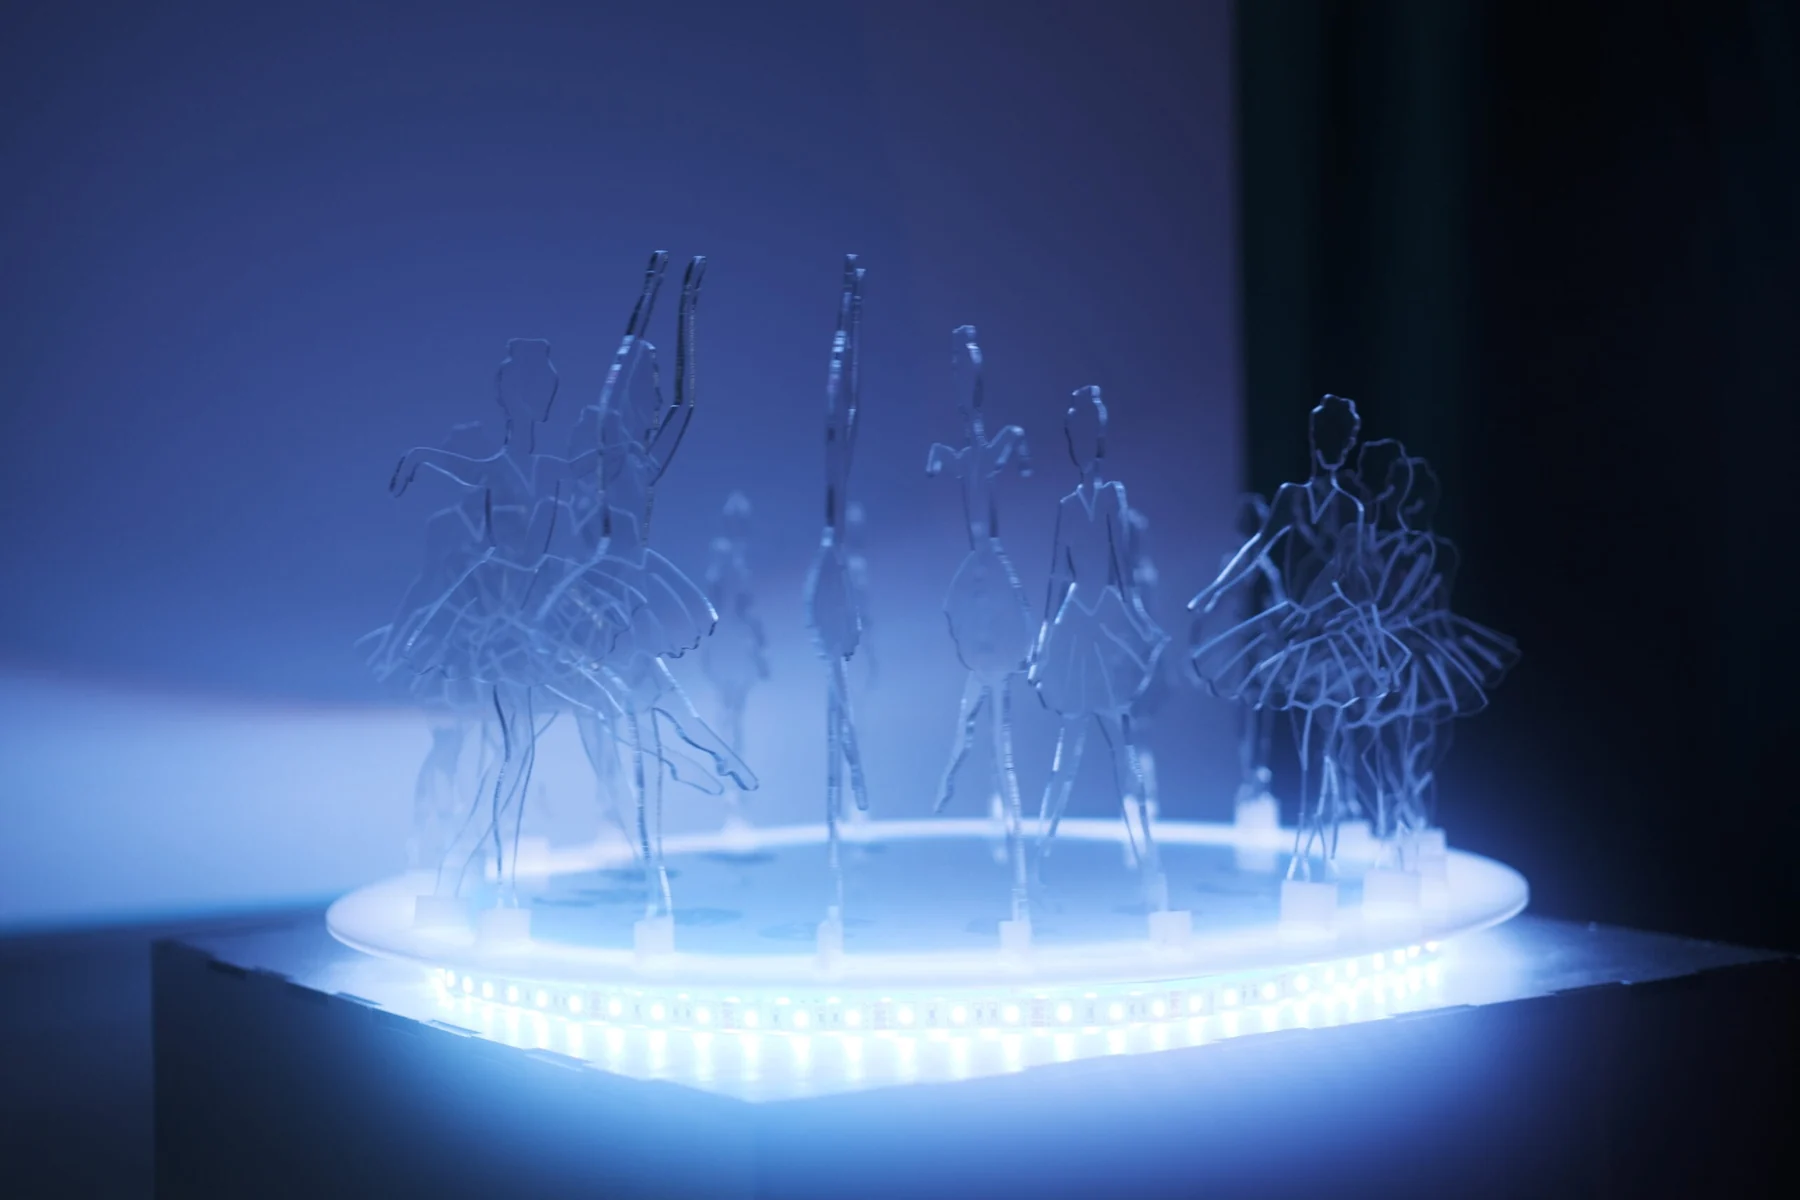
The inspiration for my project originates from stage performances I have previously watched. Music opera and dancing are art forms that I deeply appreciate. While I thoroughly enjoy the process of spectating performances from the audience seats, I also comprehend the challenges faced by the actual performers during their rehearsals. Hence, I aim to emulate, through a series of dancers assuming various bodily postures, their journey from exhaustion and dismay to gradually rising again to perform under the spotlight, and to return to a phase of rest after the performance.
Perspective and Context
As I have mentioned above, I was inspired by artist Moholy-Nagy. His works demonstrate a strong connection to technology and embrace the aesthetic possibilities of machines. One of his famous works “Licht-Raum-Modulator” (Light-Space Modulator, 1930) is an example of a kinetic sculpture. It consists of rotating and reflecting elements that manipulate light and shadow, transforming the surrounding space. Through this play with kinetic functions, Moholy-Nagy expands the expressive potential of sculpture and blurs the boundaries between art and technology. I was amazed by his choice of how the light and motion interact with each other, and this became part of my inspiration when I was brainstorming for my own project.
Development & Technical Implementation
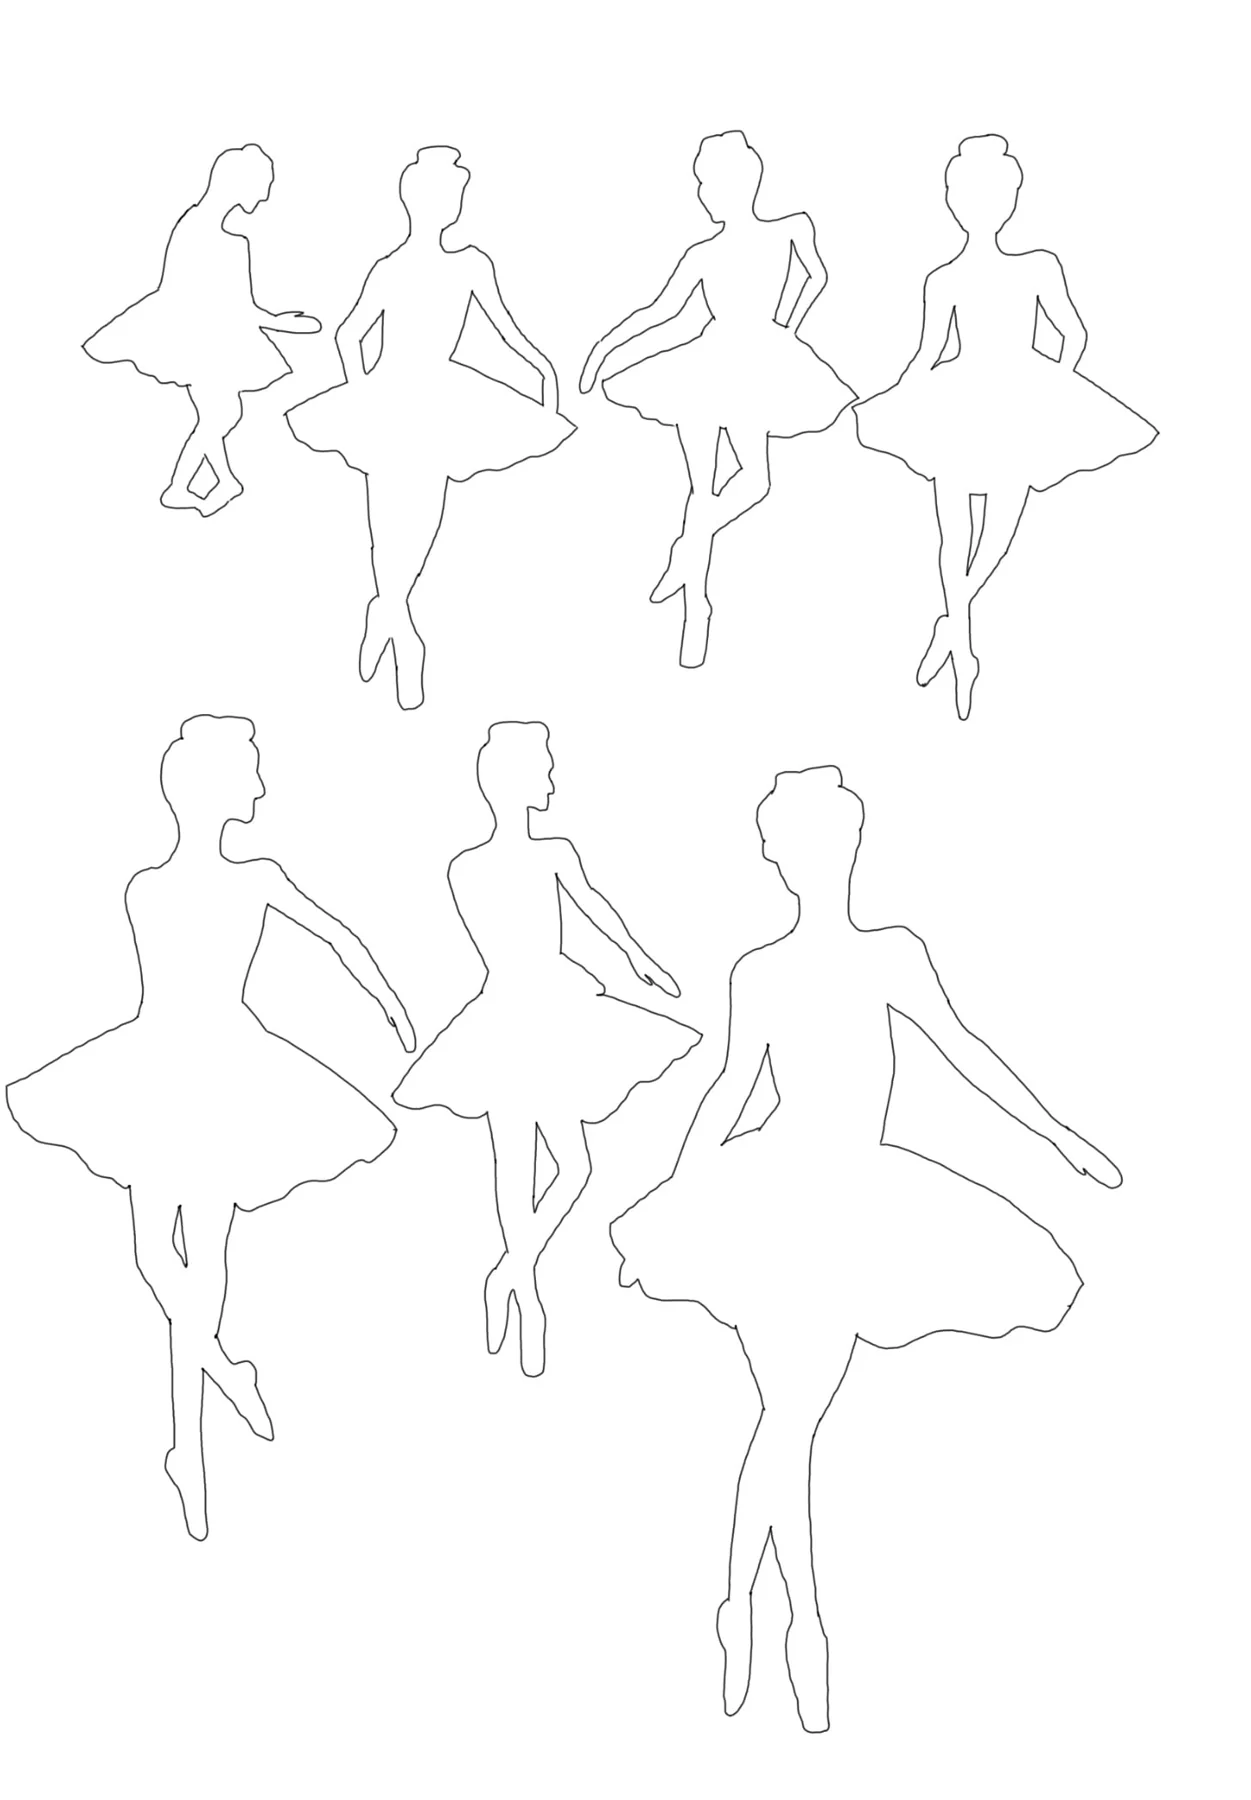
As I have not learned Ballet myself before, I searched on YouTube and found the video of a female Ballet dancer for my source of inspiration (https://www.youtube.com/watch?v=zV1qLYukTH8&t=13s). I picked a sequence of about 30 seconds in this video, paused it for multiple times, and depicted the elegant figure of this dancer on my iPad using simple lines. After I have finished 10 different drawings, I made a screenshot of each of them and uploaded them on Illustrator so that I can use the pen tool on Illustrator and create the file for laser cut.
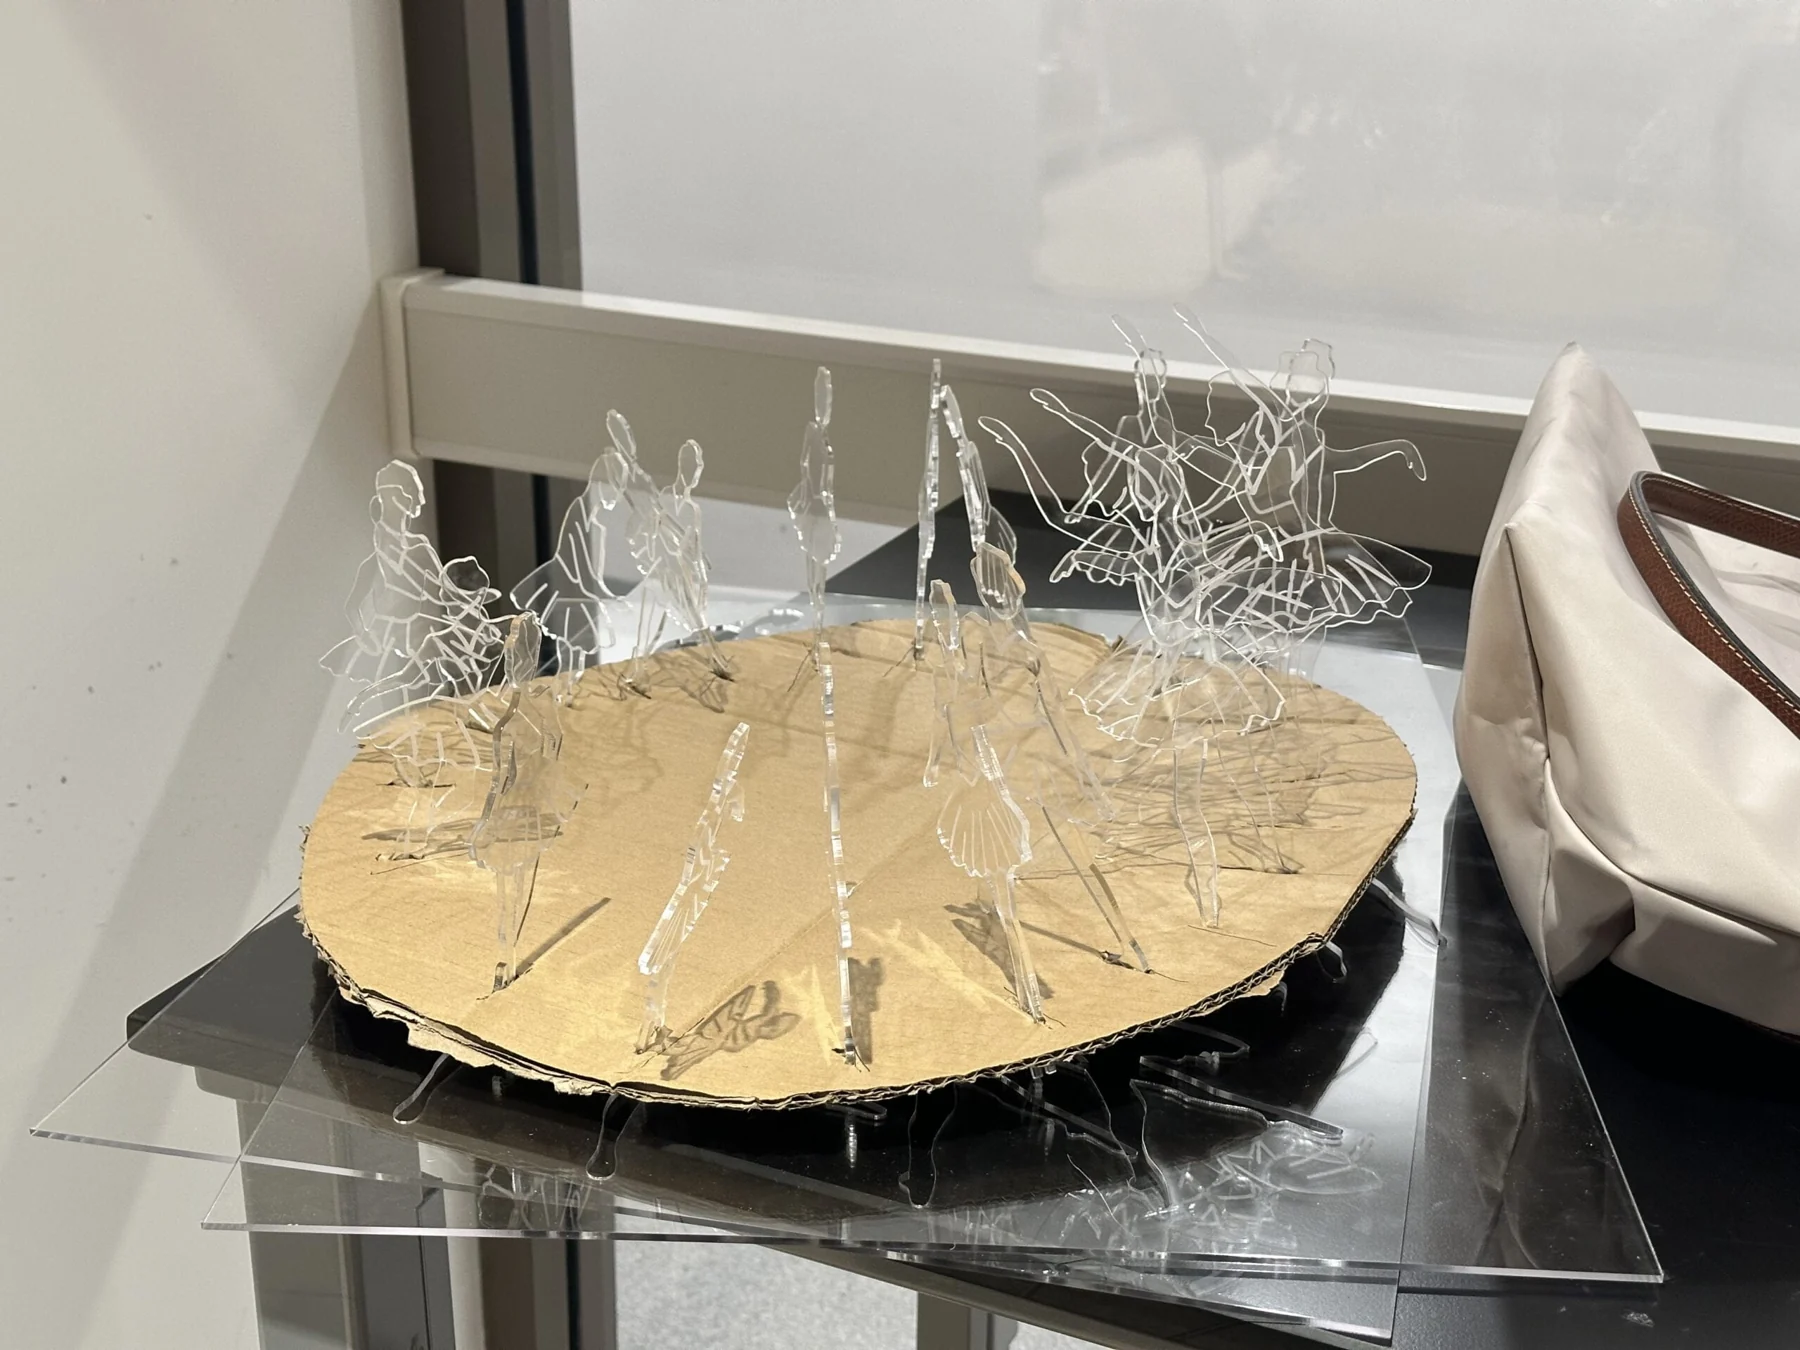
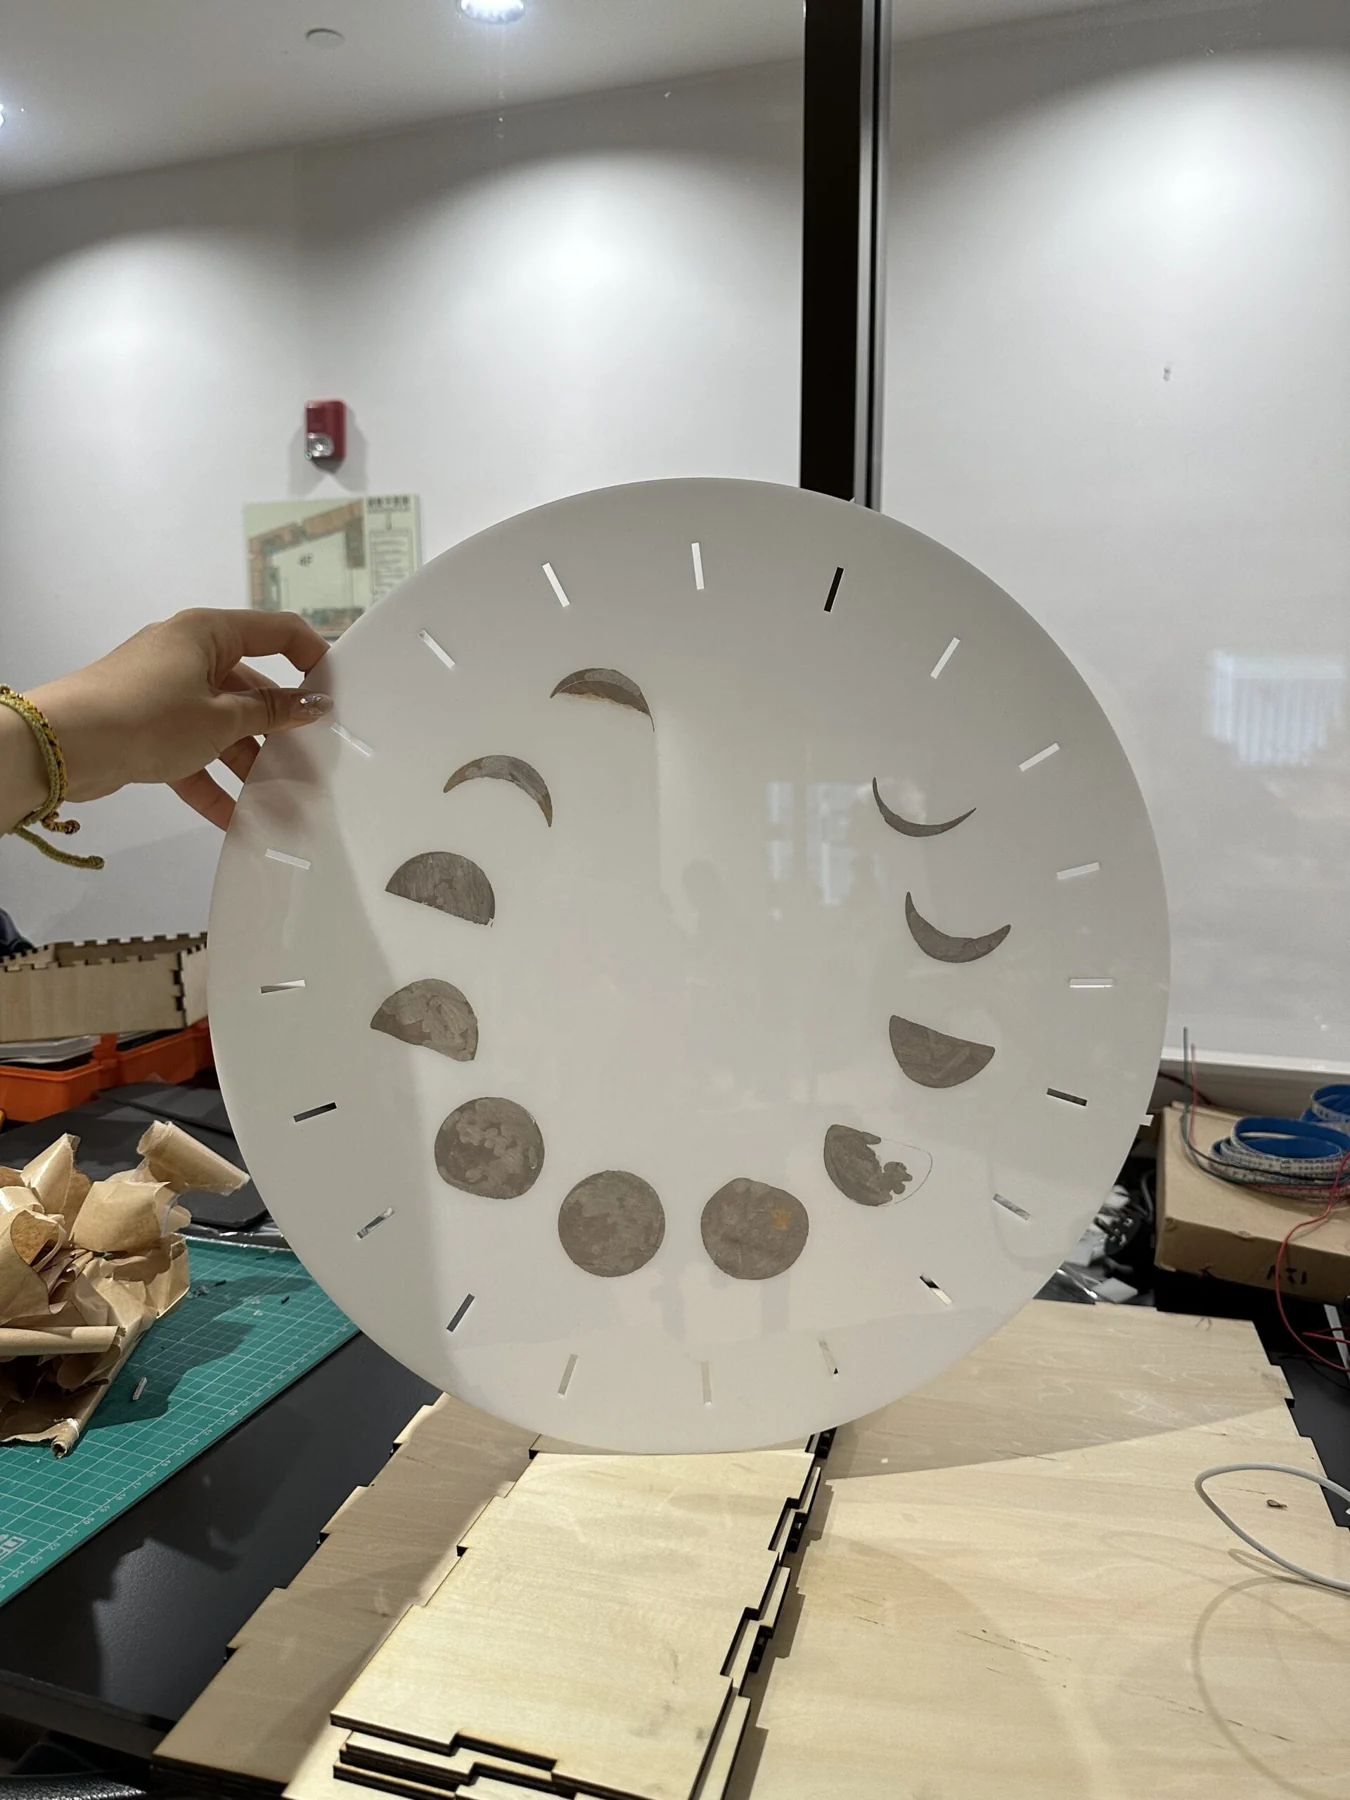
After finishing this process, since I was unsure how the dancing figures would look like on a round pedestal, and also thanks to my professor who suggested me to make a prototype for my project ahead of time, I cut a simple round pedestal for the figures using cardboard and installed all of them onto the pedestal. Much to my surprise, they look pretty good on the cardboard prototype and the whole project worked surprisingly well when it started to turn (I put it on a turning chair in the IMA studio). I was very excited and took a video of it turning under the lights. The most intriguing part is actually beyond my expectation and is the shadow of the acrylic figures on the cardboard. I didn’t expect that the engravings on the acrylic boards can be clearly shown in the shadows, and in order to keep them, I also changed my choice and decorations of the pedestal of my project.
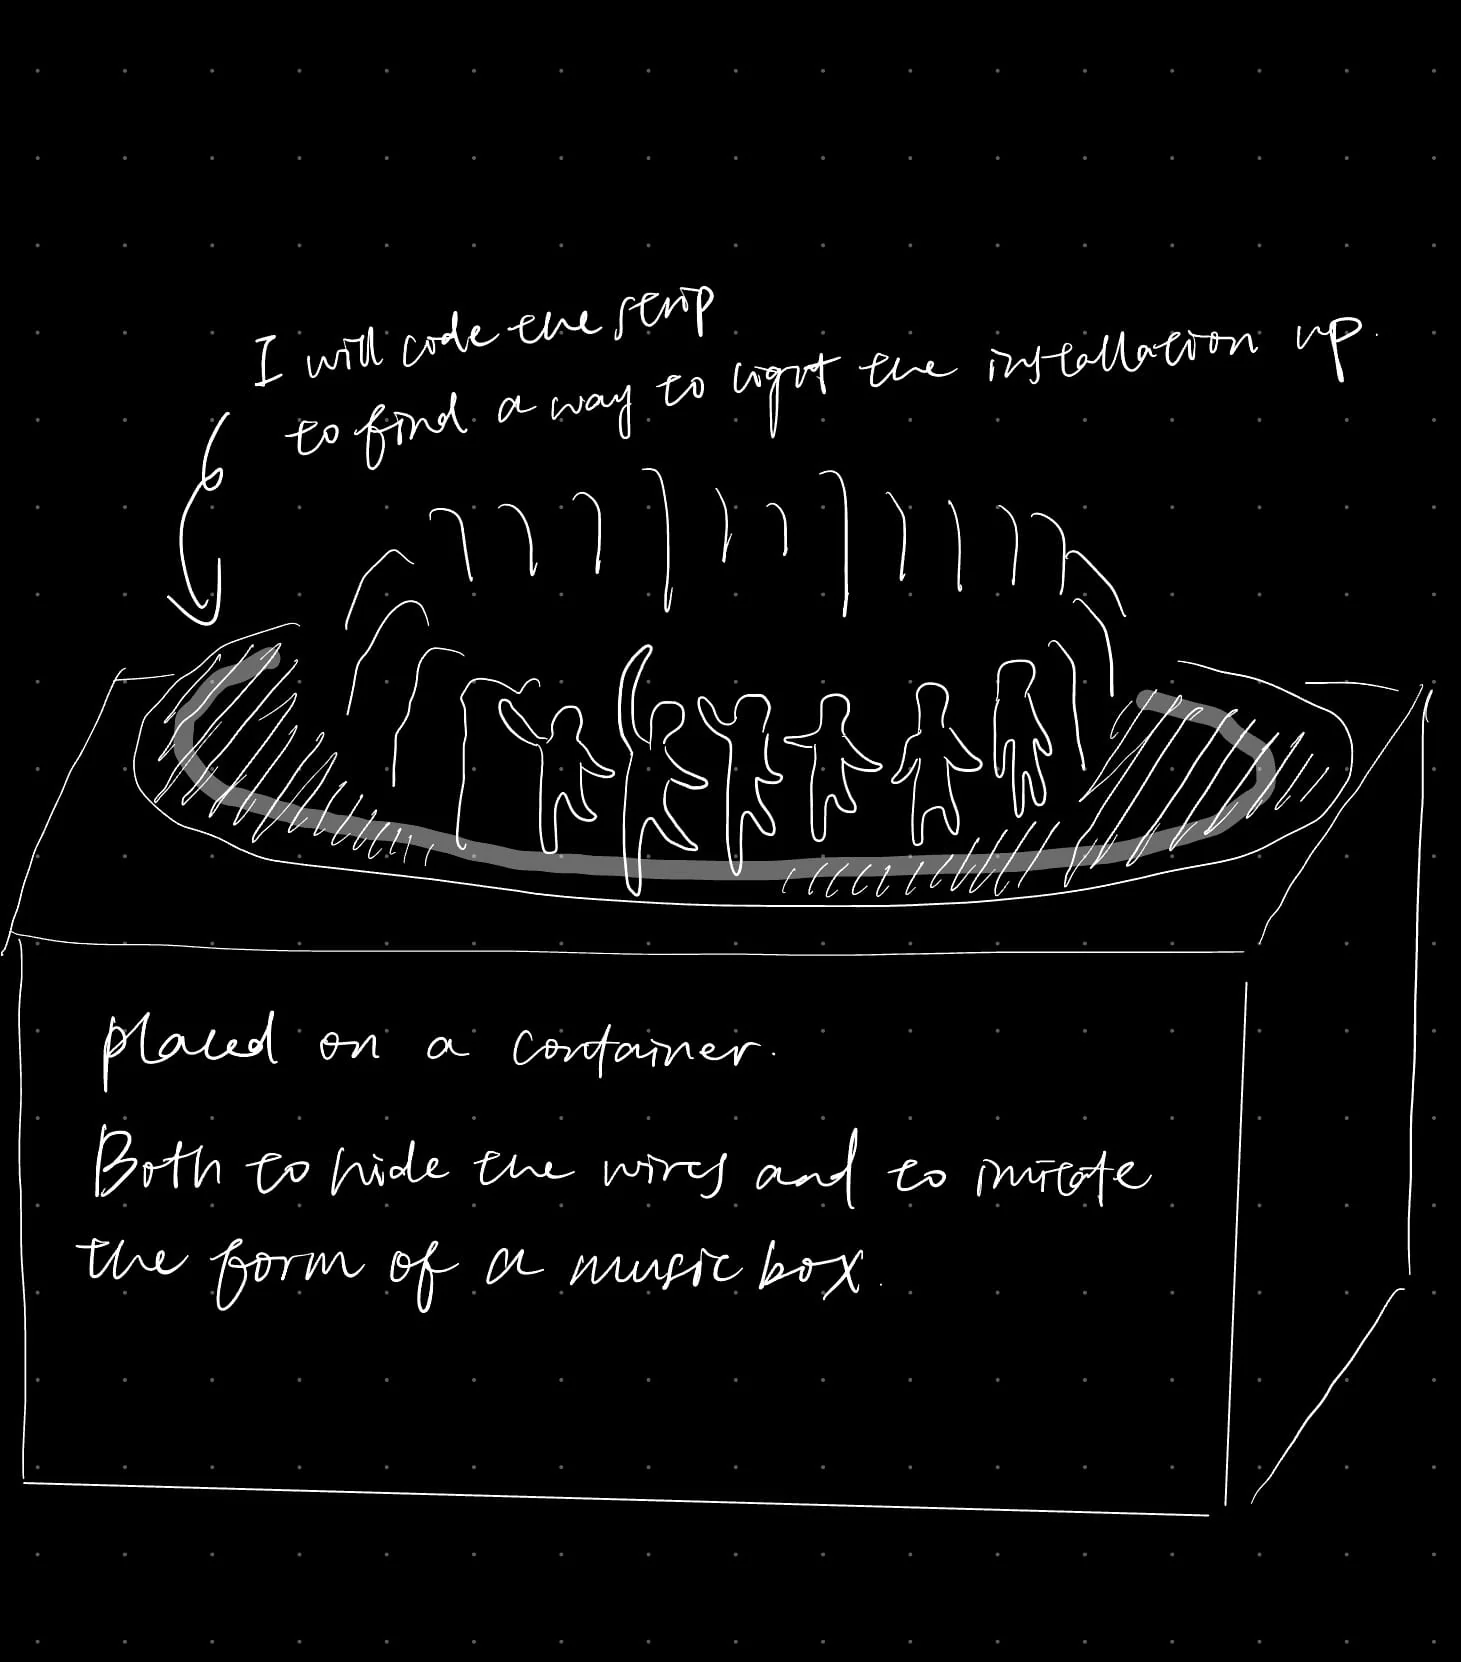
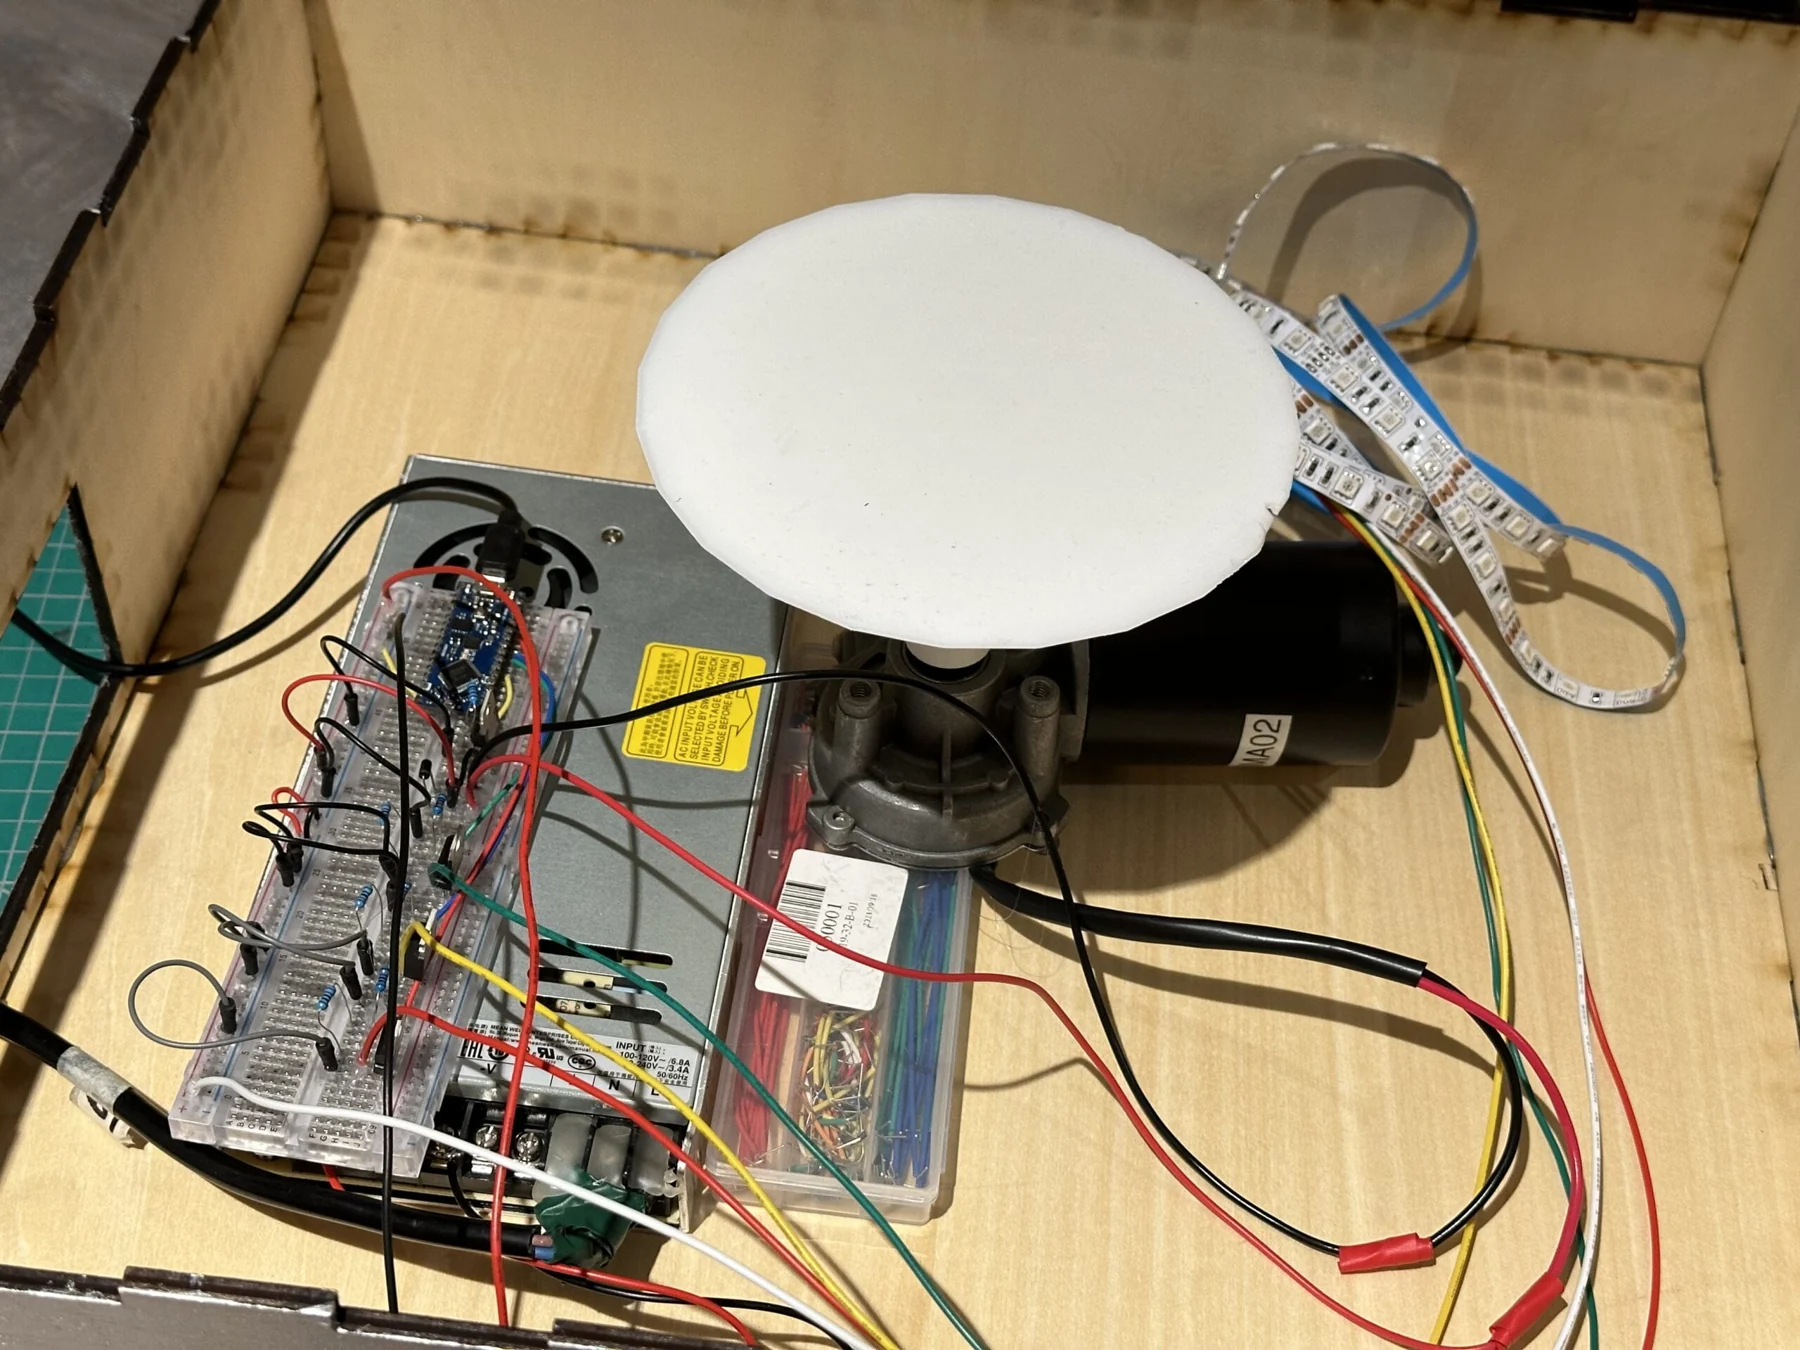
As I have finished my physical fabrication process, the next step is to build the circuit for both the motor and the LED strip and the motor and write the code. For the circuit, I just combined the circuits of a 12V DC motor and that of a 12V analog LED strip that were in the class slides. And for the code, I struggled a bit when I was trying to come up with patterns of the interactions between the strip and the motor, but overall the process went rather smoothly. I also employed 3D printing to generate a new shaft to fix on my motor and connect the motor and the acrylic board.
Presentation
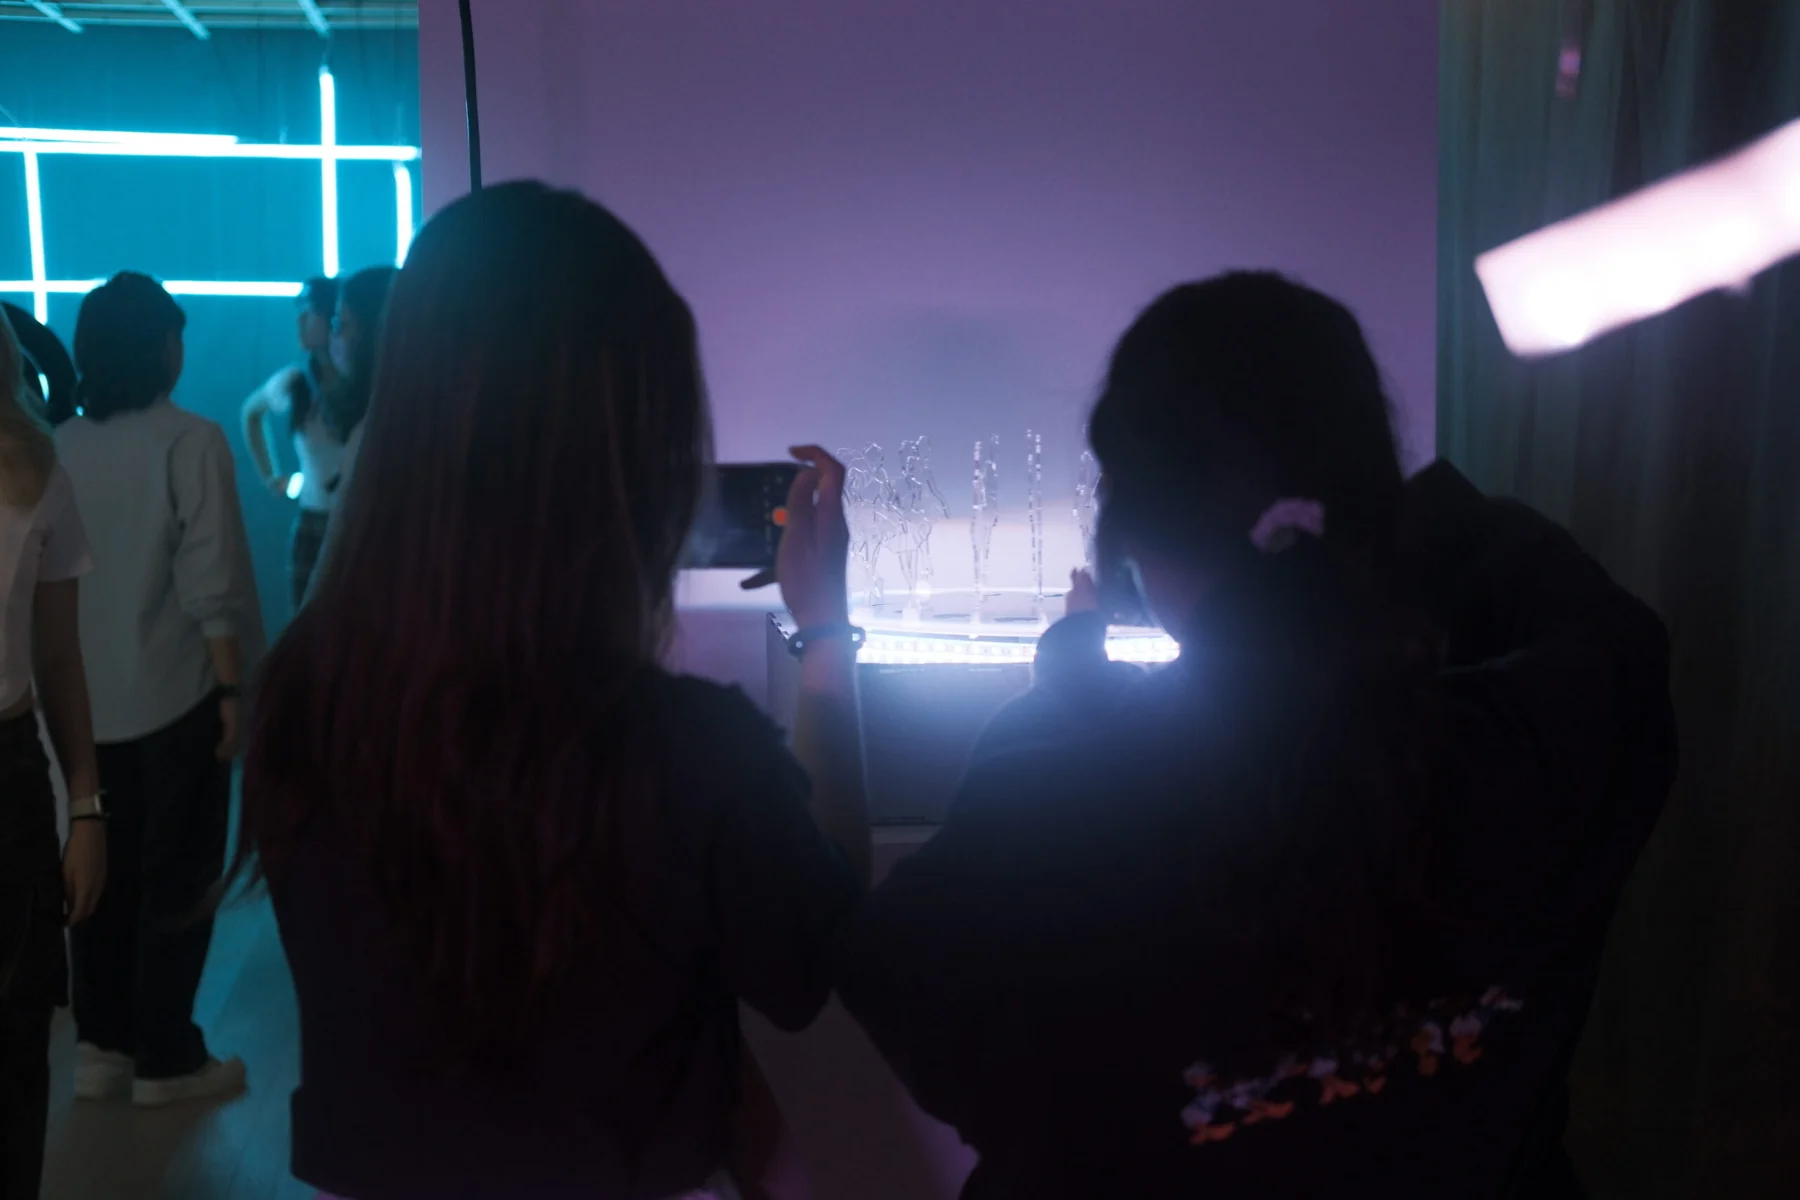
The presentation went well during both class and the IMA show, which means that nothing went wrong and it functioned appropriately. My classmates and friends have expressed their likes for this project, especially for the acrylic dancing figures on the top, and it looked beautiful in the darkness. To my surprise, though the shadows on the white pedestal disappeared during my presentation in class, they appeared again during the IMA show due to the brightness of the whole environment created collectively by other Kinetic Light projects. What’s more, there are even shadows on the wall behind my project as pointed out by a professor in our school, which created diversity for the endless dancers.
Conclusion
However, thanks to the suggestions, I also realized that my project is far below perfection. During class, my classmate pointed out that I could have created a more appealing light effect by using the digital LED strip instead of the analog one. This is also the problem I realized during my previous conversation with my professor, but in the end I didn’t hold tight to the idea because the length of my digital LED strip is way shorter than my analog strip and is not enough for my project. I could have prepared in advance to avoid this problem. Meanwhile, as pointed out by my professor, I could have made the LEDs pointing inwards than letting them face the audience. These are the problems that I didn’t manage to solve before the presentation, and I do feel that my project has a lot to improve.
I realized during the building process of this project that new inspiration comes from hands-on experiences, comes from the interaction between me and my project, and comes from my action, not envision.
Images & code
// Step 2: Motor slower for 10 seconds, LEDs stays on
analogWrite(3, 70);
analogWrite(RED_LED_PIN, 255);
analogWrite(BLUE_LED_PIN, 255);
analogWrite(GREEN_LED_PIN, 255);
delay(10000);
Credits
An individual project by Jingchen Gao. Instructor: Eric Parren. Fabrication support: Dalin and Freddie. Dancer drawings were developed from a ballet video referenced in the original documentation.